How To Print
This process details how you should be able to print on a modern TRFS Laptop with the HCP client installed.
If you are uncertain about having the right software to complete this, please click on the icon shown here:
And look for the following icon:
If, when following the above you don't see this, please raise a ticket with the Service Desk and the team will get this installed for you. This can be done by emailing: - ServiceDesk@trfs.org.uk
First time setup steps
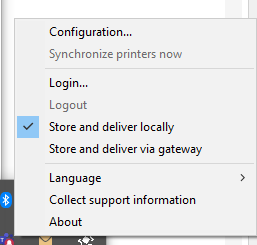
- Right click the above shown icon and select the option for Configuration'.
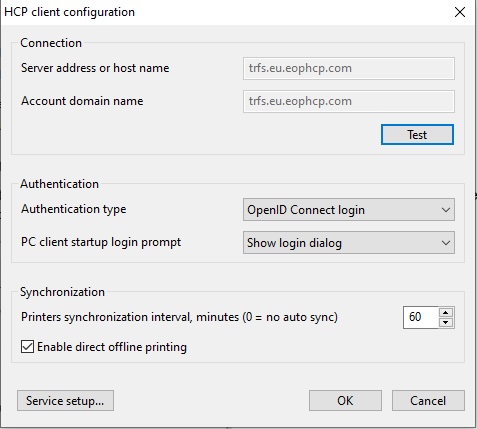
- Make sure the options shown here, specifically 'Authentication Type' and 'PC Client Startup Login Prompt' are selected then click 'OK'.
Printing after setup
- Right click the above shown icon and select the option for 'Login...”
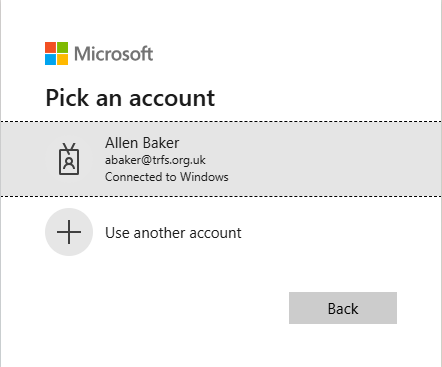
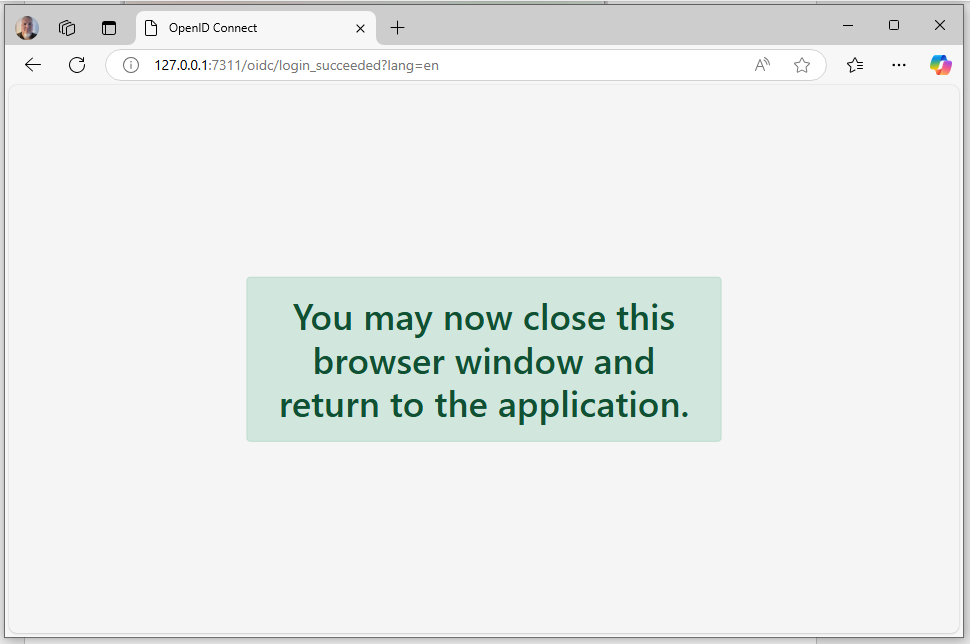
- Once the Microsoft Edge window shown here opens. Please make sure this is your user account. If it is not, select 'user other account' and sign in as yourself using your TRFS Email address and Password. After completing this for the first time, you will see this every time you turn your device on. See Next Image
- On your first attempt, you may be prompted to grant permissions to HCP. Please procced and accept this. After that you will see the window shown, please do feel free to now close this
Microsoft Edge window. If you do not see this, please raise a ticket with the Service Desk as detailed above
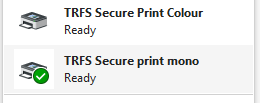
- Once the above has been complete, this will sync the required printer settings to your device and allow you to select the secure printing method TRFS wishes all staff to use. When you go to
print, you will be present with the following two options, and this will always default to TRFS Secure Print Mono due to the cost savings involved in using this method. due to
the cost savings involved in using this method. Colour printing is 10x more expensive to use than mono. Again, like above, if you do not see this, please raise a ticket with the Service Desk
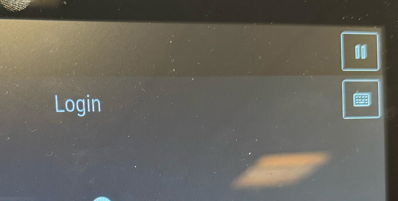
- You will then be able to go to the Xerox printer, click the 'keyboard icon' shown in the top right corner and login with your TRFS Payroll ID. Again, like above, if you do not see this on the printer or when pressing and entering your Payroll ID you get an error, please raise a ticket with the Service Desk
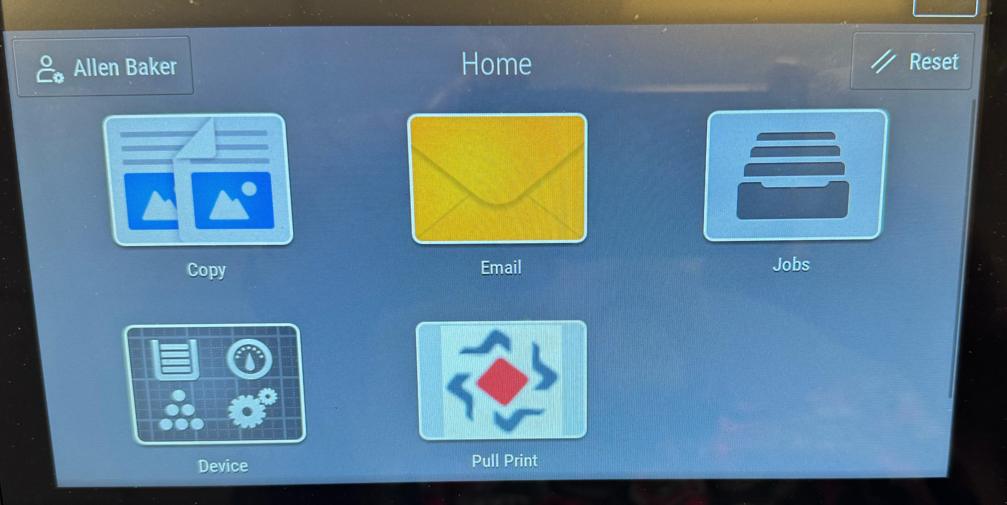
- You will then select the option to 'Pull Print' as shown
- You will then be presented with a list of your available prints. All that is left to complete is to select the job and select 'print'. This will then print the selected document(s).


Potential Error(s)
If you do get to this point and the above is shown like the following.
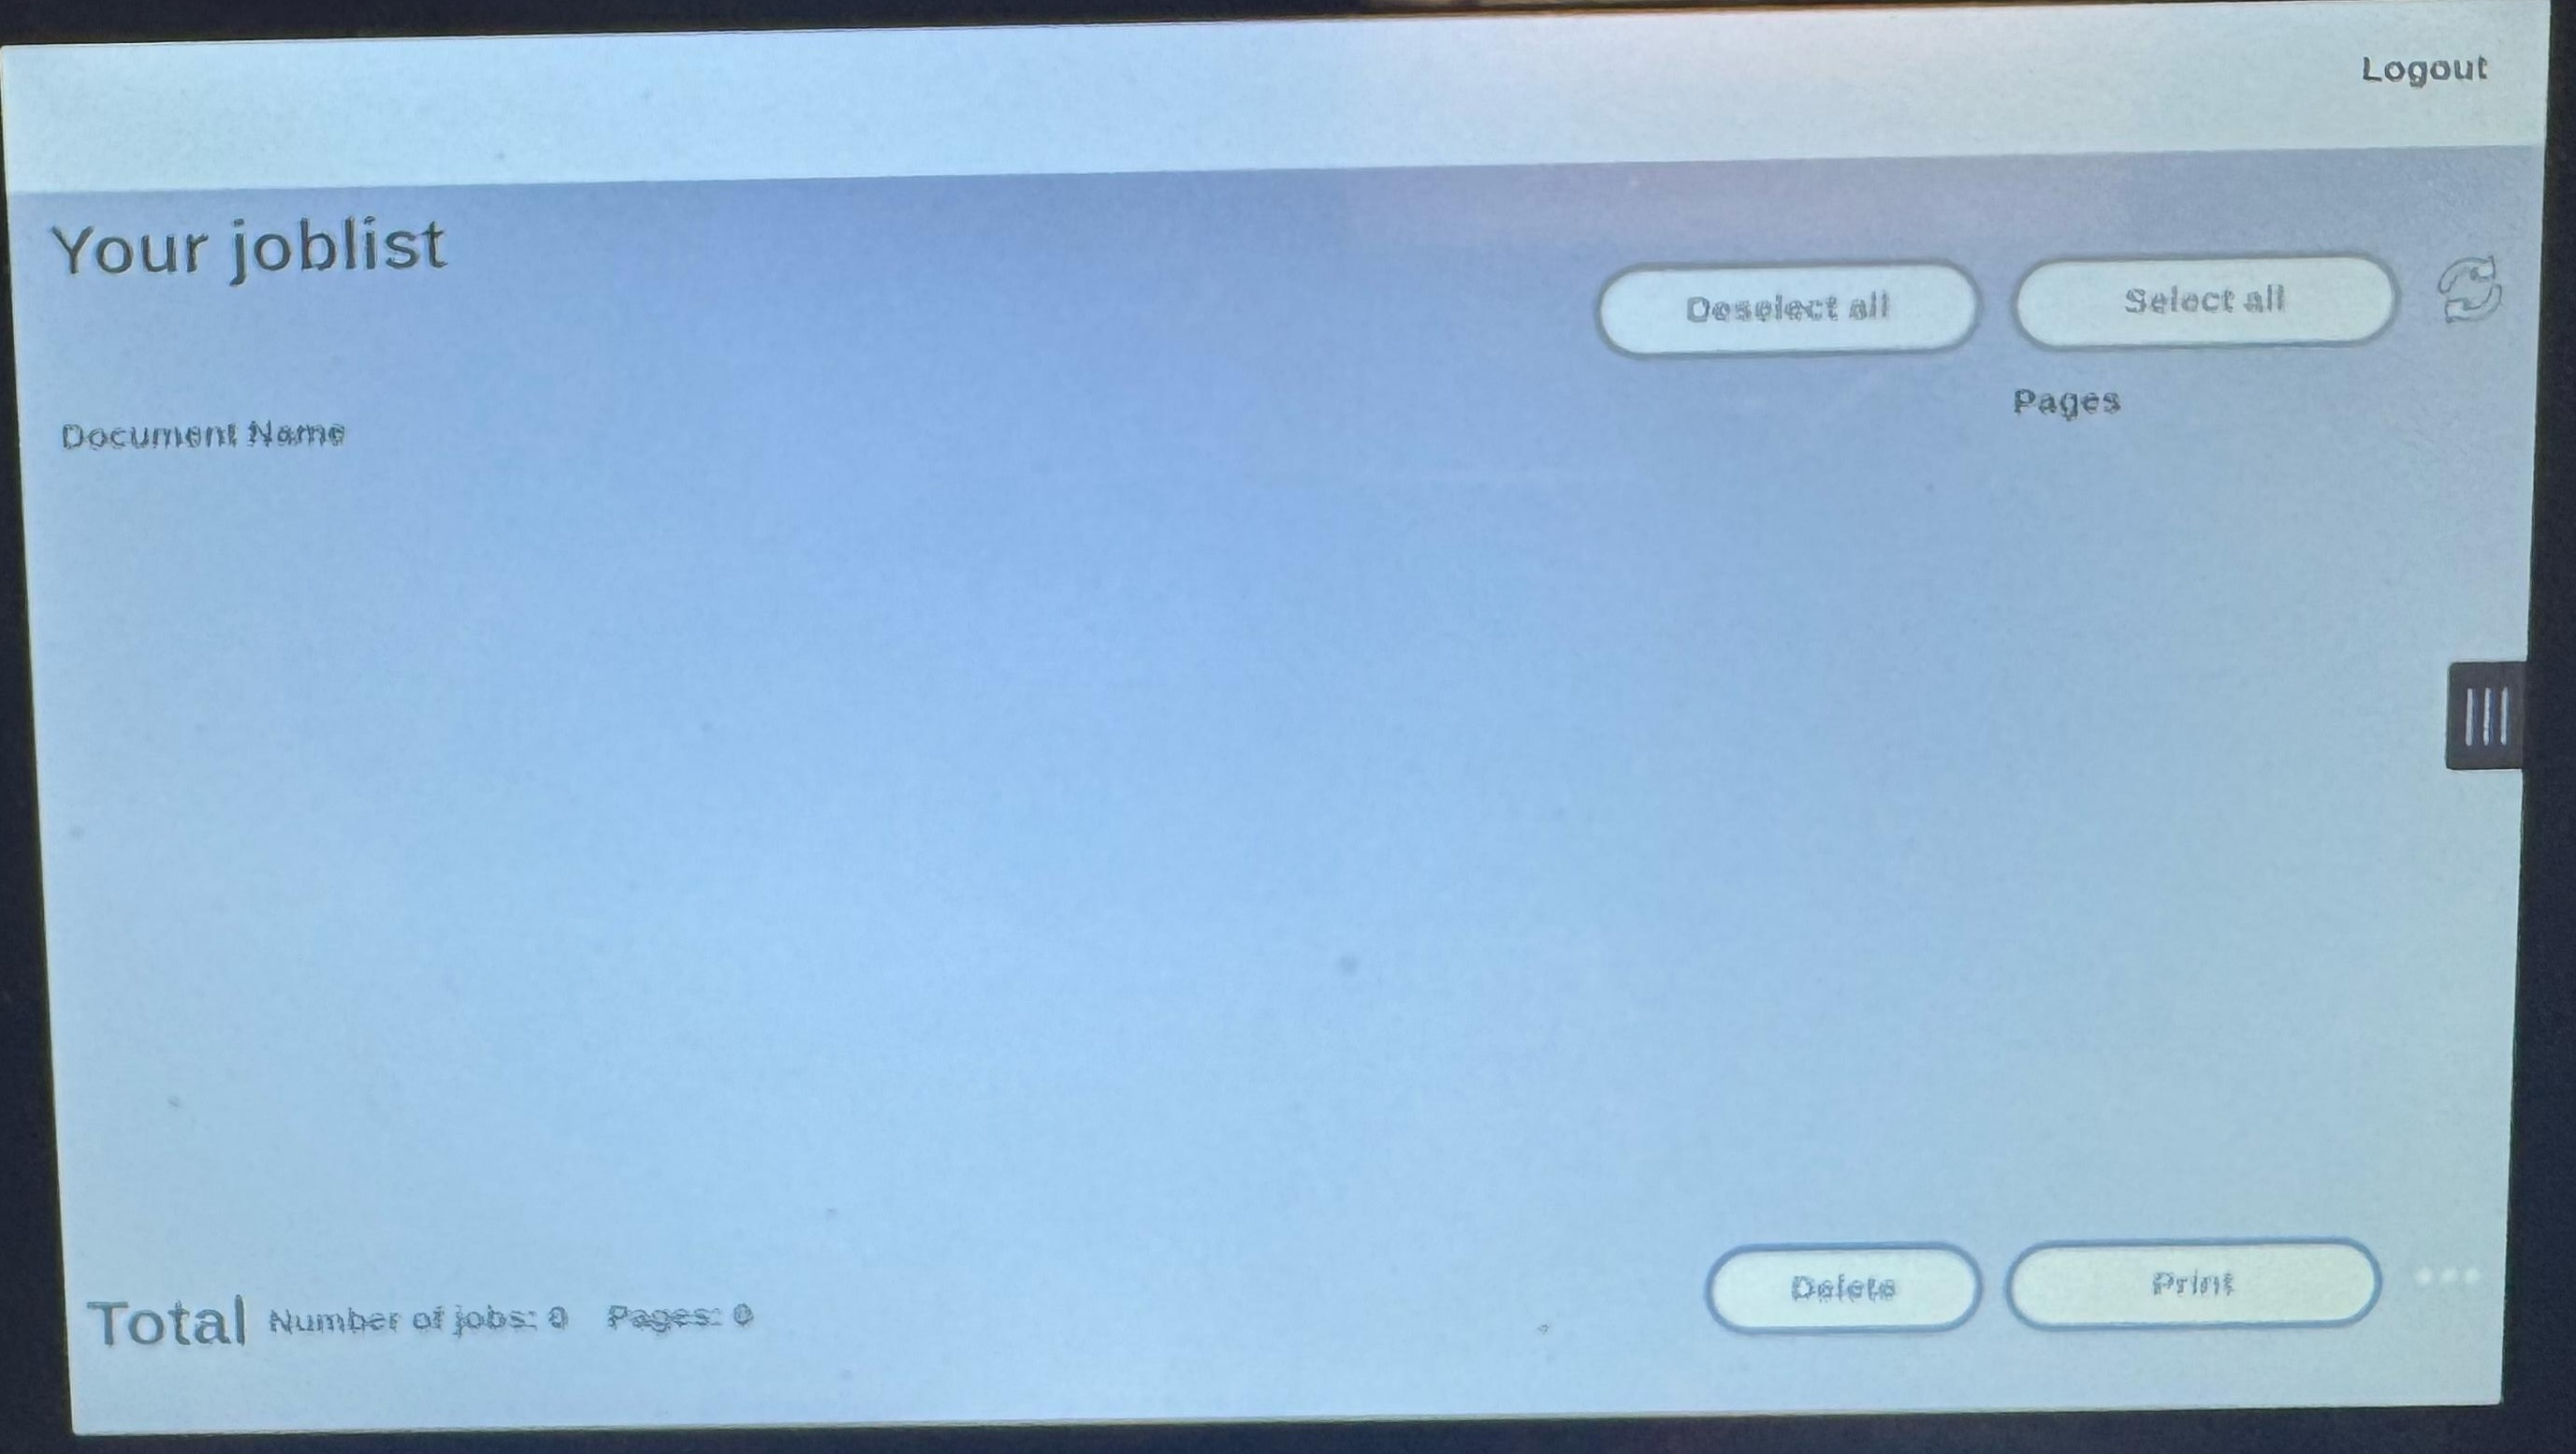
this will mean you are not connected to the correct wi-fi network. Please raise a support request with the Service Desk team as detailed above and we will work with Xeretec to check which network you should be connected to for the prints to show correctly.